How to Make Jewelry by Laser Cutting Yourself

We give a step-by-step guide for each individual to design and manufacture their own jewelry and accessories. This instructive aim is to introduce people to a popular and powerful tool, laser cutting. Laser-cut jewelry is a trend that is becoming increasingly common. You will soon realize that making your own piece is simpler and convenient when you try your hand on it. Another advantage is that make jewelry by yourself is actually very cheap.
1. Design
Two different tracks can be selected for design:
· Ready to use
Existing templates are found in open design collections.
· Design it by yourself
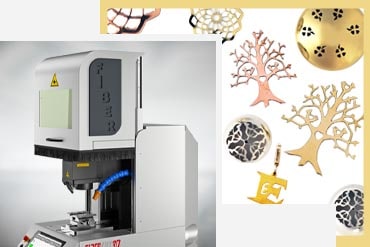
But obviously, you must use or know how to use a vector graphic software of your choice. What the tools allow us to do is important to know. It cuts a wide variety of materials with a powerful laser cutter. It is critical to understand what the tools allow us to do. The Laser cutter is a popular device that can cut a variety of materials. Before you make anything or even get the material, you should know exactly what you want to make, the design, the material, whether it's a ring, a necklace, a bracelet, and so on. It's helpful to have references from various fields, such as geometric patterns. Nature is also a good source of inspiration.
After you've gathered some references, you can start sketching out some more ideas. The old-fashioned pen and paper are excellent! It is critical to consider ergonomy in this case; sharp edges, for example, are unpleasant. Specify the correct dimensions of the jewelry you want to make. You can make a paper prototype to be sure of the size by putting it directly on your system.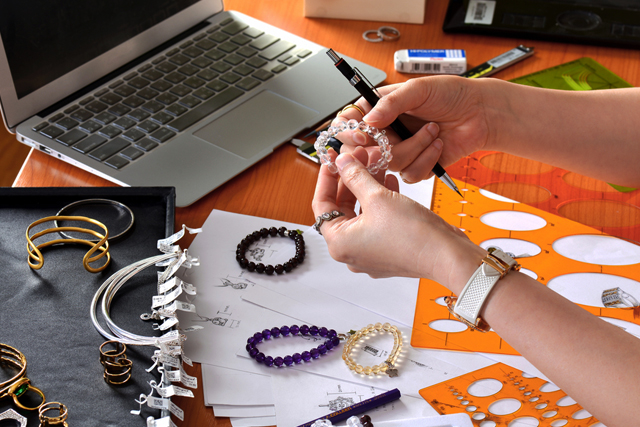
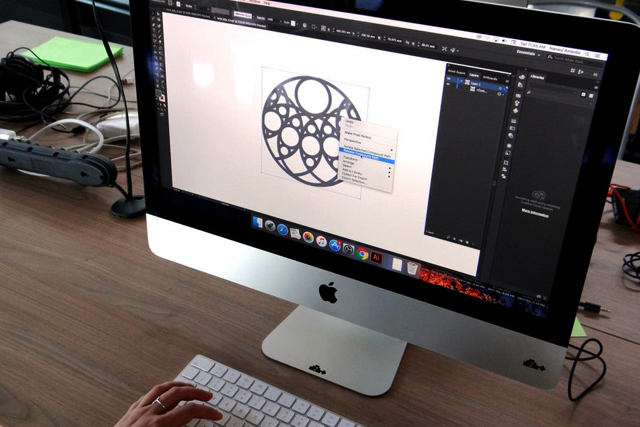
2. How to Draw?
We can use any vector software, varying from the most common (Adobe Photoshop or CorelDRAW) to the open-source (Inkscape). You may also use software such as Sketchup and CAD for 3D designs for vector export. Sketchup is pretty simple. Avoid drawing thin lines because your design can become fragile. Always make your design between the cutting paths with a minimum of 1 mm, or they surely break.
If you want to engrave your jewelry, make another layer in your vector format file to separate the engraving paths from the cutting directions. And engrave before cutting because a specific laser cutter has spacing between the material grid. You will have to prepare the file in a certain way, depending on the laser cutter you will use. We chose to engrave by using the cutting function but lowering the laser power.
Make your file like this:
- Cut the ENGRAVE lines with different colors
- Do not exceed millimeters in size (mm)
- Double-check the file before saving
- But saving the file in SVG format is a good practice, even if it's just for reference.
3. Get the Material
Now that we know what we're going to do, we can gather the necessary supplies!
· The material that will be cut
It all depends on the needs, but you can find anything on the Internet.
· Alex finishing
Items from Alex stores (our online shops), such as hooks for earrings, brooch pins, chains, various strings, metal rings, and so on.
· Finishing coats
Primer, lacquer or spray paint (we like the graffiti kind), clear coating, sandpaper, glitter, even nail polisher, and so on.
· Tool for design making
Certainly, a cutter, pair of pliers, with a pair of rubber gloves, as well as crepe or tape, is recommended.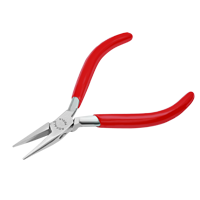

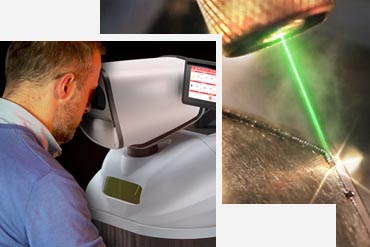
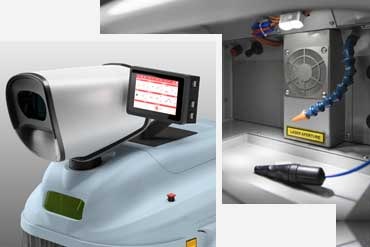
4. Laser & Settings
This is an opportunity to learn about this device. The laser cutter is similar to a CNC router or plotter (computer-controlled blade). It works with a laser cutter. The end of the nozzle has two motors to help focus the laser cutter. Burning allows you to engrave or cut the material. For leather or 6 mm ply, it takes considerably less time to cut. These materials have pre-defined power and speed ranges. Just relax; there is most likely an existing settings table you can use when testing new stuff. Later on, you will have to spend time cutting.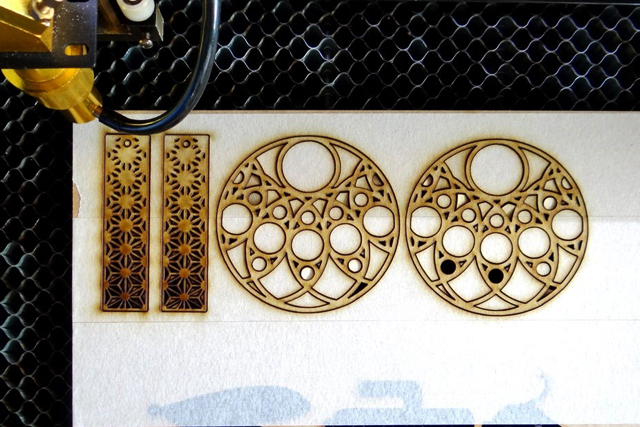
· Where to Cut?
Now we need to locate a laser cutting process in your town. It is becoming increasingly easier to find one. Start by searching Google Maps for terms like "Laser Cut etc. Even if you live in a town the three people, you can still send the file by email because some businesses offer this service online and then deliver the pieces by regular mail.
5. Finishing
You can select your preferred finish. So if you want to do it yourself, here's how we did it: Some materials necessitate special care. We recommend using spray varnish to protect your jewelry from skin contact, which can damage the piece, especially if made of wood. Again, only apply thin layers of varnish and useless varnish than paint.
For earrings, use the two pliers to open the jump rings, then insert the earrings findings and your piece. Finally, using the pliers, carefully close the rings with a bit of pressure.
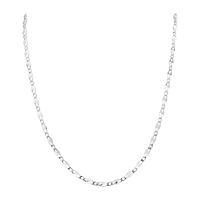
For a necklace, select a string made of leather, silk, or any other material that complements your piece. Measure the length of the string you're wearing. End caps can be used to improve the appearance.
Find The Best Jewelry Making Laser-Cutting Tools
- Nano Fiber Laser 20 Watt Click Here
- Nano Fiber Laser 30 Watt Click Here
- Fiberlux El Lite Fiber Laser 20 Watt Click Here
- Fiberlux El Lite Fiber Laser 30 Watt Click Here
- Fiberlux El Lite Fiber Laser 50 Watt Click Here
- Fiberlux El Fiber Laser 20 Watt Click Here
- Fiberlux El Fiber Laser 30 Watt Click Here
- Fiberlux El Fiber Laser 50 Watt Click Here
- Fiberlux Pro Laser Machine 50 Watt Click Here
- Fiberlux Pro Laser Machine 70 Watt Click Here
- Fiberlux Pro Laser Machine 100 Watt Click Here
- Fiberlux Pro Laser 200 Watt Click Here
- Fiberlux 3D Fiber Laser 50 Watt Click Here
- Fiberlux 3D Fiber Laser 70 Watt Click Here
- Fiberlux 3D Fiber Laser 100 Watt Click Here
How to Measure Necklace Size | Necklace Size Calculator 2023
What is a Draw Bench, How to Use Draw Bench | Choose The Right Draw Bench
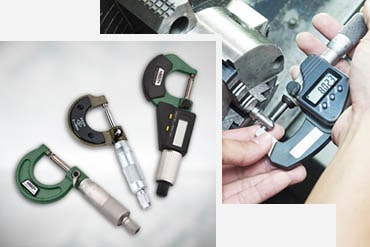
What is Micrometer? | How to Use Micrometer
How to Choose the Right Laser Cutting Machine? | 2022 Ultimate Guide
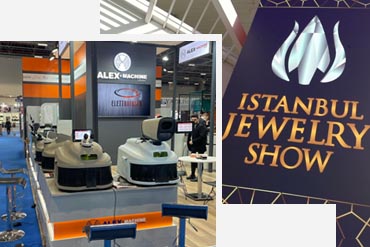
ISTANBUL JEWELRY SHOW HAS ALEX MAKİNA!
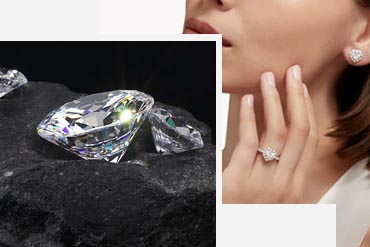
What are Diamond Tools?
How to Choose the Right Laser Welding Machine? | 2023 Ultimate Guide